


Hey there! I'm a supplier of plastic coated pipe insulation, and I've seen firsthand how crucial it is to insulate large - diameter pipes properly. Not only does it save energy, but it also protects the pipes from various environmental factors. In this blog, I'll walk you through the process of installing plastic coated pipe insulation on large - diameter pipes.
Why Insulate Large - Diameter Pipes?
Before we jump into the installation process, let's talk about why you'd want to insulate large - diameter pipes in the first place. Large - diameter pipes are often used in industrial settings, commercial buildings, and even some residential complexes. These pipes carry hot or cold fluids, and without proper insulation, a significant amount of energy can be lost. This means higher energy bills and less efficient systems.
Moreover, insulation helps prevent condensation on cold pipes, which can lead to corrosion and water damage. For hot pipes, it reduces the risk of burns for anyone who might come in contact with them. So, it's a win - win situation all around.
Tools and Materials You'll Need
To get started with the installation, you'll need a few essential tools and materials. Here's a list:
- Plastic coated pipe insulation: Make sure you choose the right thickness and size for your pipes. You can check out Plastic Coated Steel Pipe for Gas, Plastic Coated Steel Pipe for Fire Protection, and Plastic Lined Steel Pipe on our website to find the perfect fit.
- Measuring tape: To measure the length and circumference of the pipes accurately.
- Utility knife: For cutting the insulation to the right size.
- Adhesive: To secure the insulation in place. Make sure it's compatible with the plastic coating.
- Safety equipment: Gloves, safety glasses, and a dust mask to protect yourself during the installation.
Step 1: Prepare the Pipes
The first step is to prepare the pipes for insulation. Start by cleaning the surface of the pipes thoroughly. Remove any dirt, grease, or rust using a wire brush or a suitable cleaning agent. A clean surface ensures better adhesion of the insulation.
Next, inspect the pipes for any damage or leaks. If you find any issues, it's best to fix them before installing the insulation. This will prevent further problems down the line.
Step 2: Measure and Cut the Insulation
Once the pipes are clean and ready, it's time to measure and cut the plastic coated pipe insulation. Use a measuring tape to determine the length and circumference of the pipes. Add a little extra length to the insulation to allow for overlapping at the joints.
Mark the insulation with a pencil or a marker according to your measurements. Then, use a utility knife to cut the insulation. Make sure to cut in a straight line for a neat and professional finish.
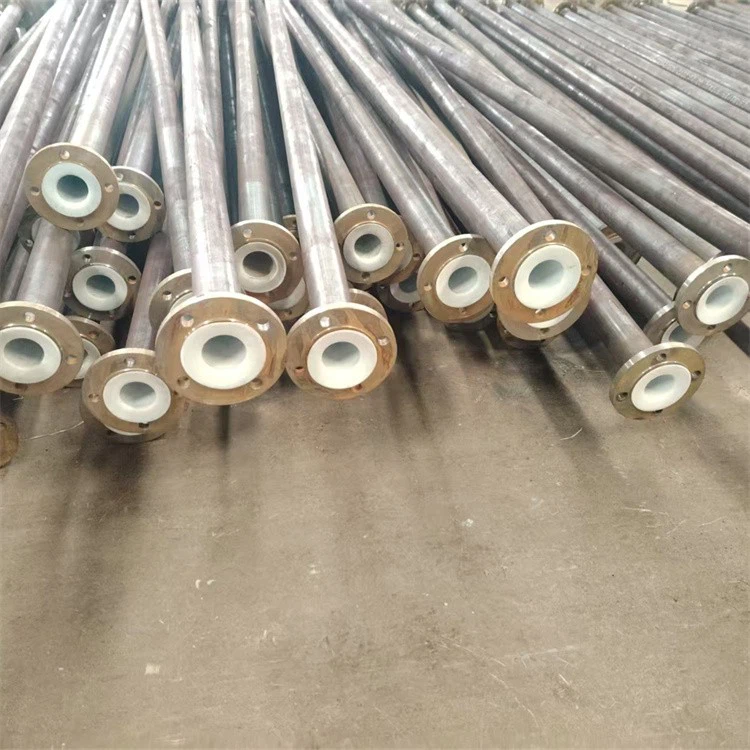
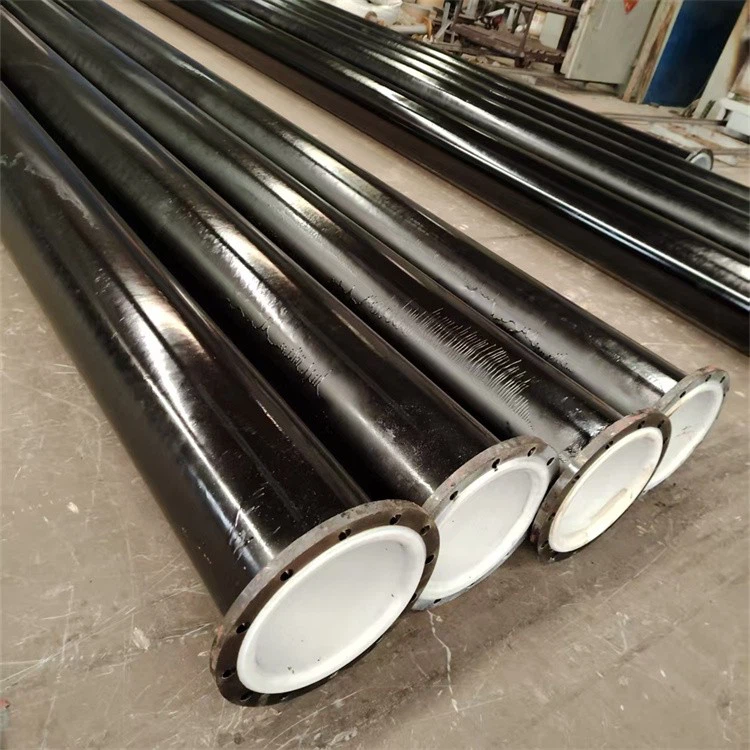
Step 3: Install the Insulation
Now comes the actual installation part. Start by applying a thin layer of adhesive to the surface of the pipe. Be careful not to use too much adhesive, as it can make the insulation difficult to position.
Carefully wrap the cut insulation around the pipe, starting from one end. Make sure the insulation fits snugly against the pipe and that there are no gaps or wrinkles. Overlap the edges of the insulation by at least an inch to provide a continuous barrier.
As you wrap the insulation, use your hands to smooth out any air bubbles or uneven areas. If the insulation has a self - adhesive backing, you can skip the adhesive step and simply press the insulation firmly onto the pipe.
Step 4: Secure the Joints
Once the insulation is wrapped around the pipe, it's important to secure the joints properly. Apply more adhesive to the overlapping edges of the insulation and press them together firmly. You can also use insulation tape to reinforce the joints for added security.
For large - diameter pipes, you may need to use mechanical fasteners such as straps or bands to hold the insulation in place. Make sure the fasteners are tight enough to prevent the insulation from shifting but not so tight that they damage the insulation.
Step 5: Insulate the Fittings and Valves
Don't forget about the fittings and valves! These areas are often overlooked but are just as important to insulate. Measure and cut the insulation for the fittings and valves, following the same process as for the pipes.
Wrap the insulation around the fittings and valves, making sure to cover all exposed surfaces. Use adhesive and tape to secure the insulation in place. Pay special attention to the areas where the pipes connect to the fittings, as these are potential areas for heat loss.
Step 6: Inspect the Installation
After you've completed the installation, take a step back and inspect the work. Check for any gaps, wrinkles, or loose areas in the insulation. Make sure all the joints are properly sealed and that the insulation is securely attached to the pipes, fittings, and valves.
If you find any issues, make the necessary adjustments. This will ensure that the insulation performs effectively and lasts for a long time.
Step 7: Maintenance
Once the insulation is installed, it's important to perform regular maintenance. Check the insulation periodically for any signs of damage, such as cracks, tears, or water infiltration. If you notice any problems, repair or replace the damaged insulation as soon as possible.
Also, keep an eye on the pipes for any changes in temperature or pressure. Unusual readings could indicate a problem with the insulation or the pipes themselves.
Conclusion
Installing plastic coated pipe insulation on large - diameter pipes may seem like a daunting task, but with the right tools, materials, and steps, it can be done easily. By following these guidelines, you can improve the energy efficiency of your pipes, protect them from damage, and save money in the long run.
If you're interested in purchasing plastic coated pipe insulation or have any questions about the installation process, feel free to reach out to us. We're here to help you with all your insulation needs and guide you through the purchasing process. Whether you need Plastic Coated Steel Pipe for Gas, Plastic Coated Steel Pipe for Fire Protection, or Plastic Lined Steel Pipe, we've got you covered.
References
- "Pipe Insulation Handbook" - A comprehensive guide on pipe insulation installation and best practices.
- Industry standards and guidelines for pipe insulation, such as those set by the American Society of Heating, Refrigerating and Air - Conditioning Engineers (ASHRAE).


